


Dear Reader,
In my last letter, I wrote about Emily Dickinson’s herbarium—a collection of over 400 pressed plants she gathered from the meadows and woods around her homestead and from flowers she grew in her garden. For Emily, creating a herbarium wasn’t just a scientific record; it was a poetic practice—a way of understanding the world through sense and memory.
In pressing flowers, we resist forgetting. We insist that something otherwise considered small and ephemeral is worth tending to. We actively build an archive of season, place, a moment in time.
In today’s letter, I’m sharing the materials I’ve been gathering to build my herbarium practice. I hope to collect specimens from the field, along with those I grow on my flower farm throughout the year, just like Emily did. Creating a herbarium isn’t complicated—just a few simple tools can make all the difference when it comes to preserving what I find. If you’re curious about how I’m doing it, or thinking of starting your own, keep reading.
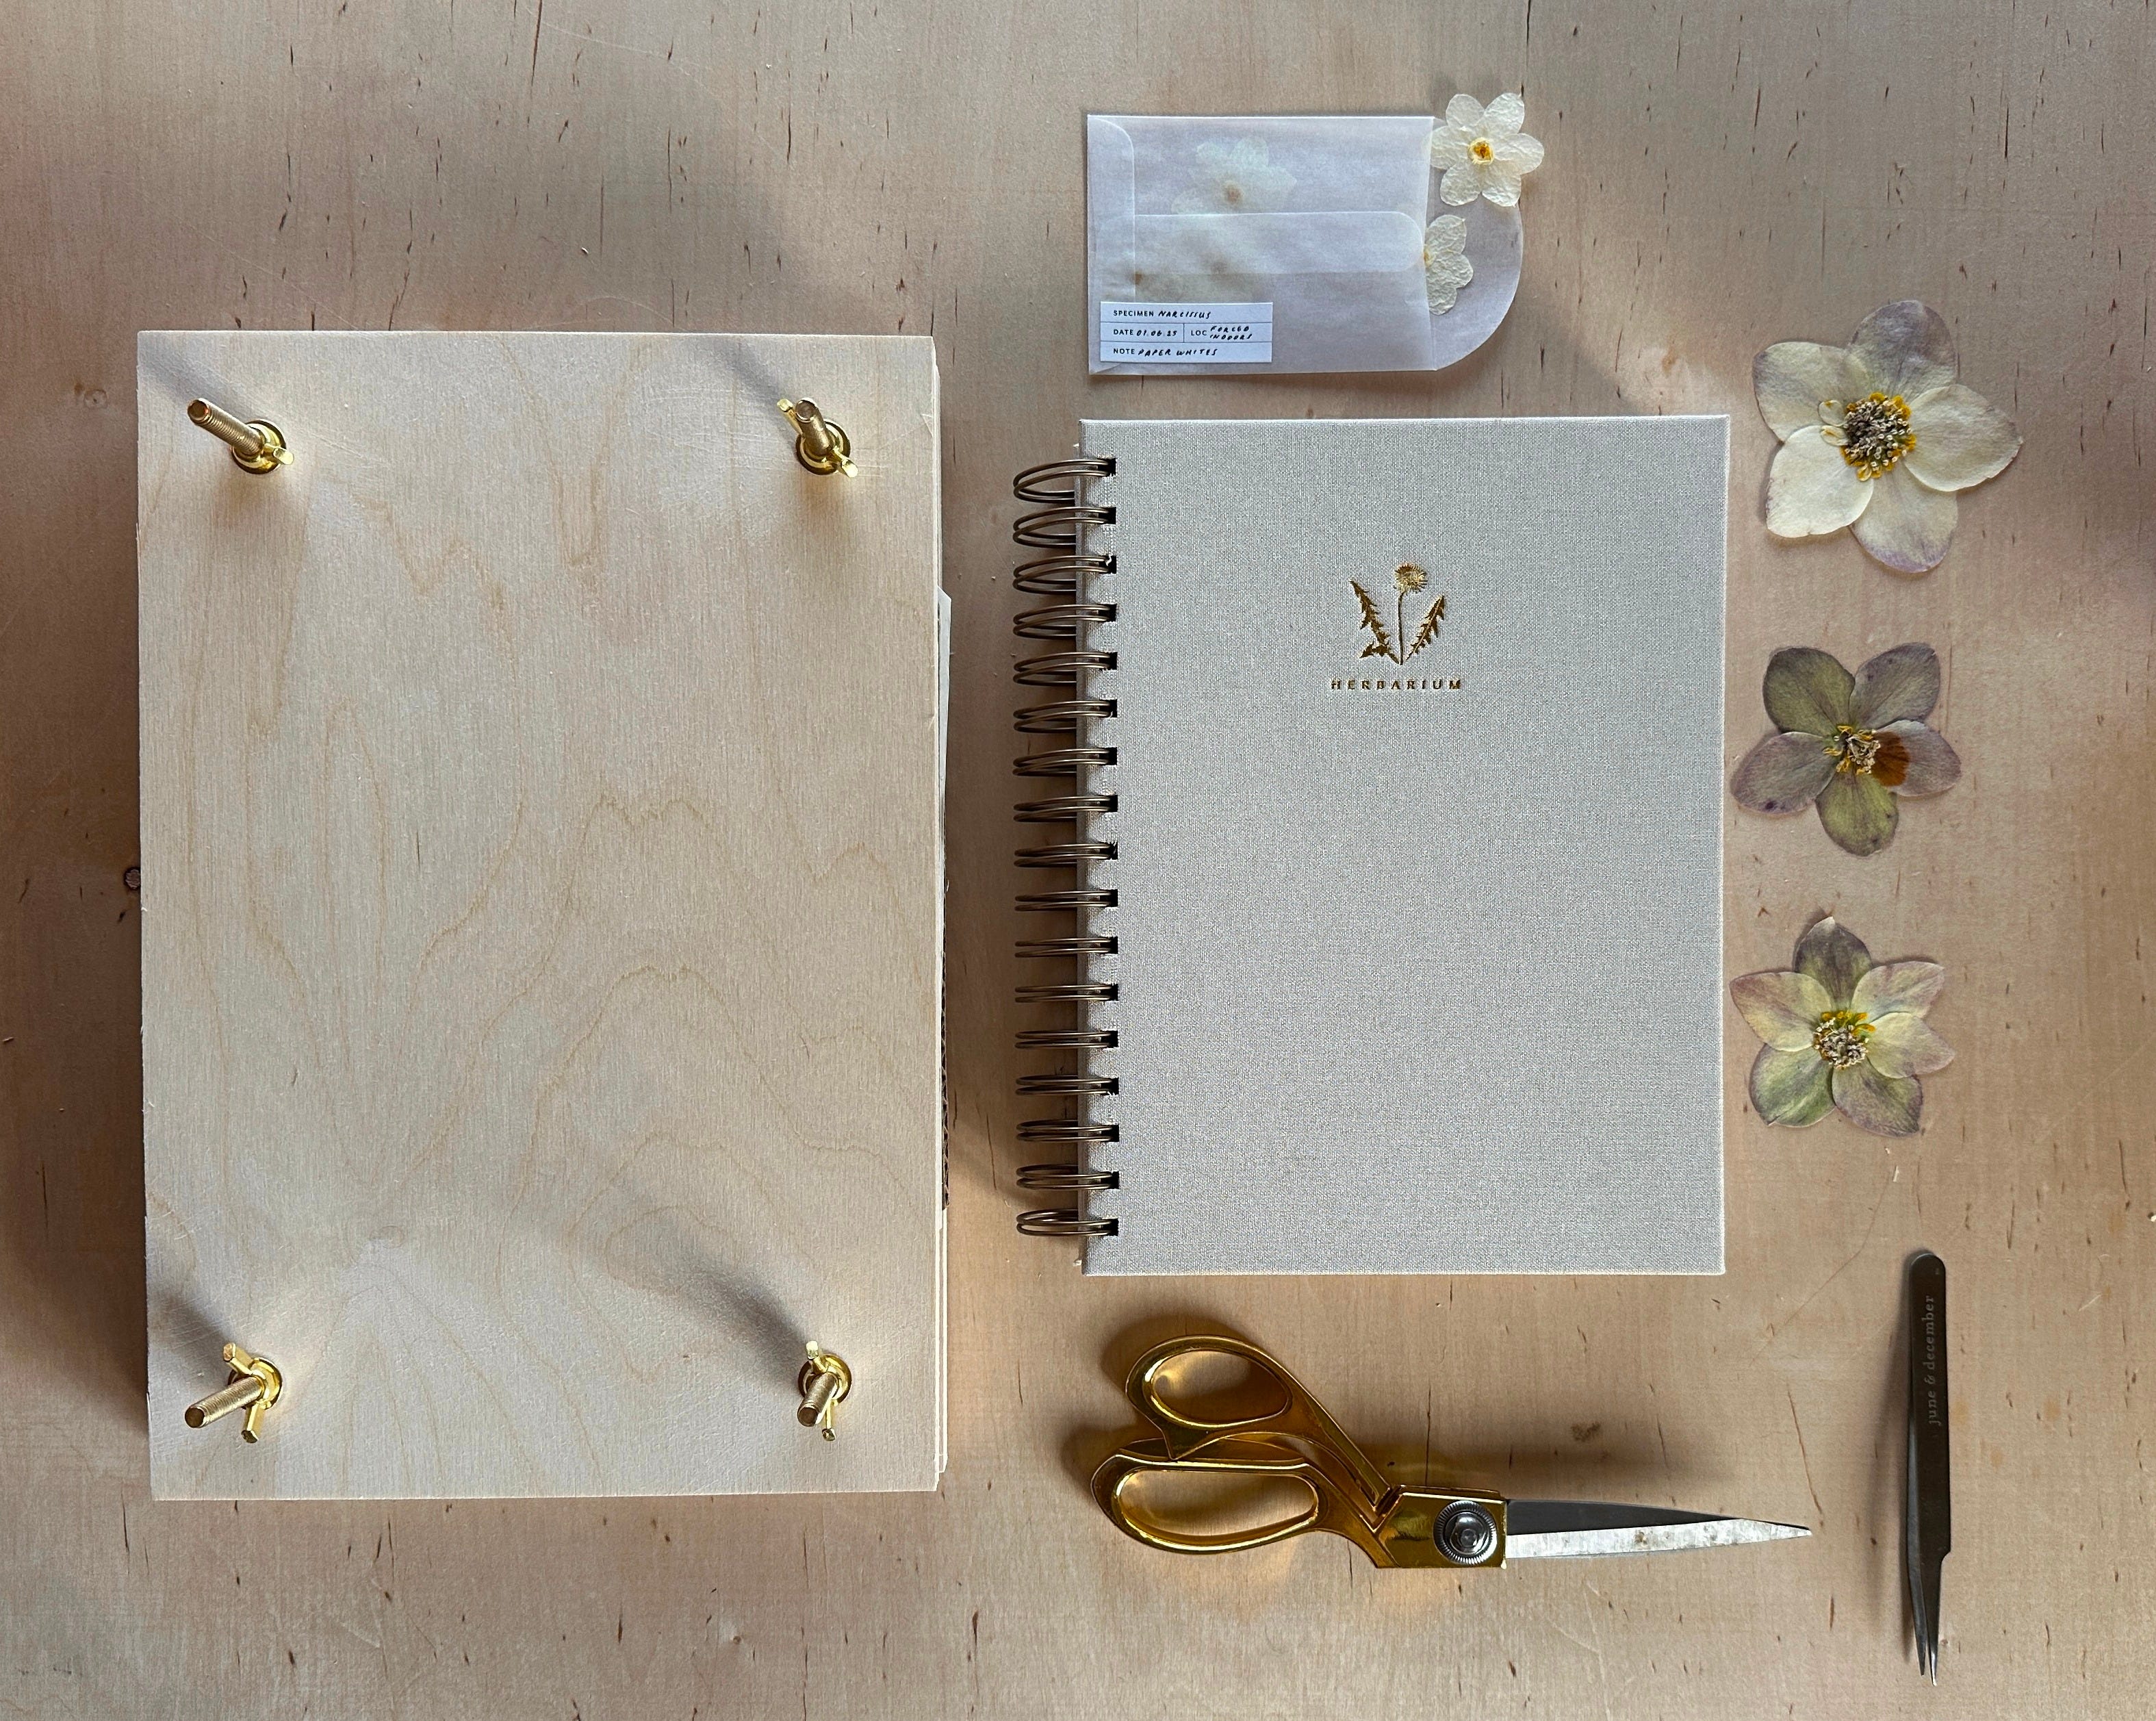
An herbarium is simply a collection of pressed, preserved flowers, often arranged systematically—though this practice has plenty of room for creativity.
The most essential tool is a flower press. While you can tuck flowers in between the pages of a heavy book, the moisture from some blooms can warp the pages.
I was curious about how Emily pressed her flowers, and found that she placed her specimens between sheets of paper and simply stacked books on top of them! I haven’t tried that yet, but it would be worth a try if you don’t want to create a press yourself.
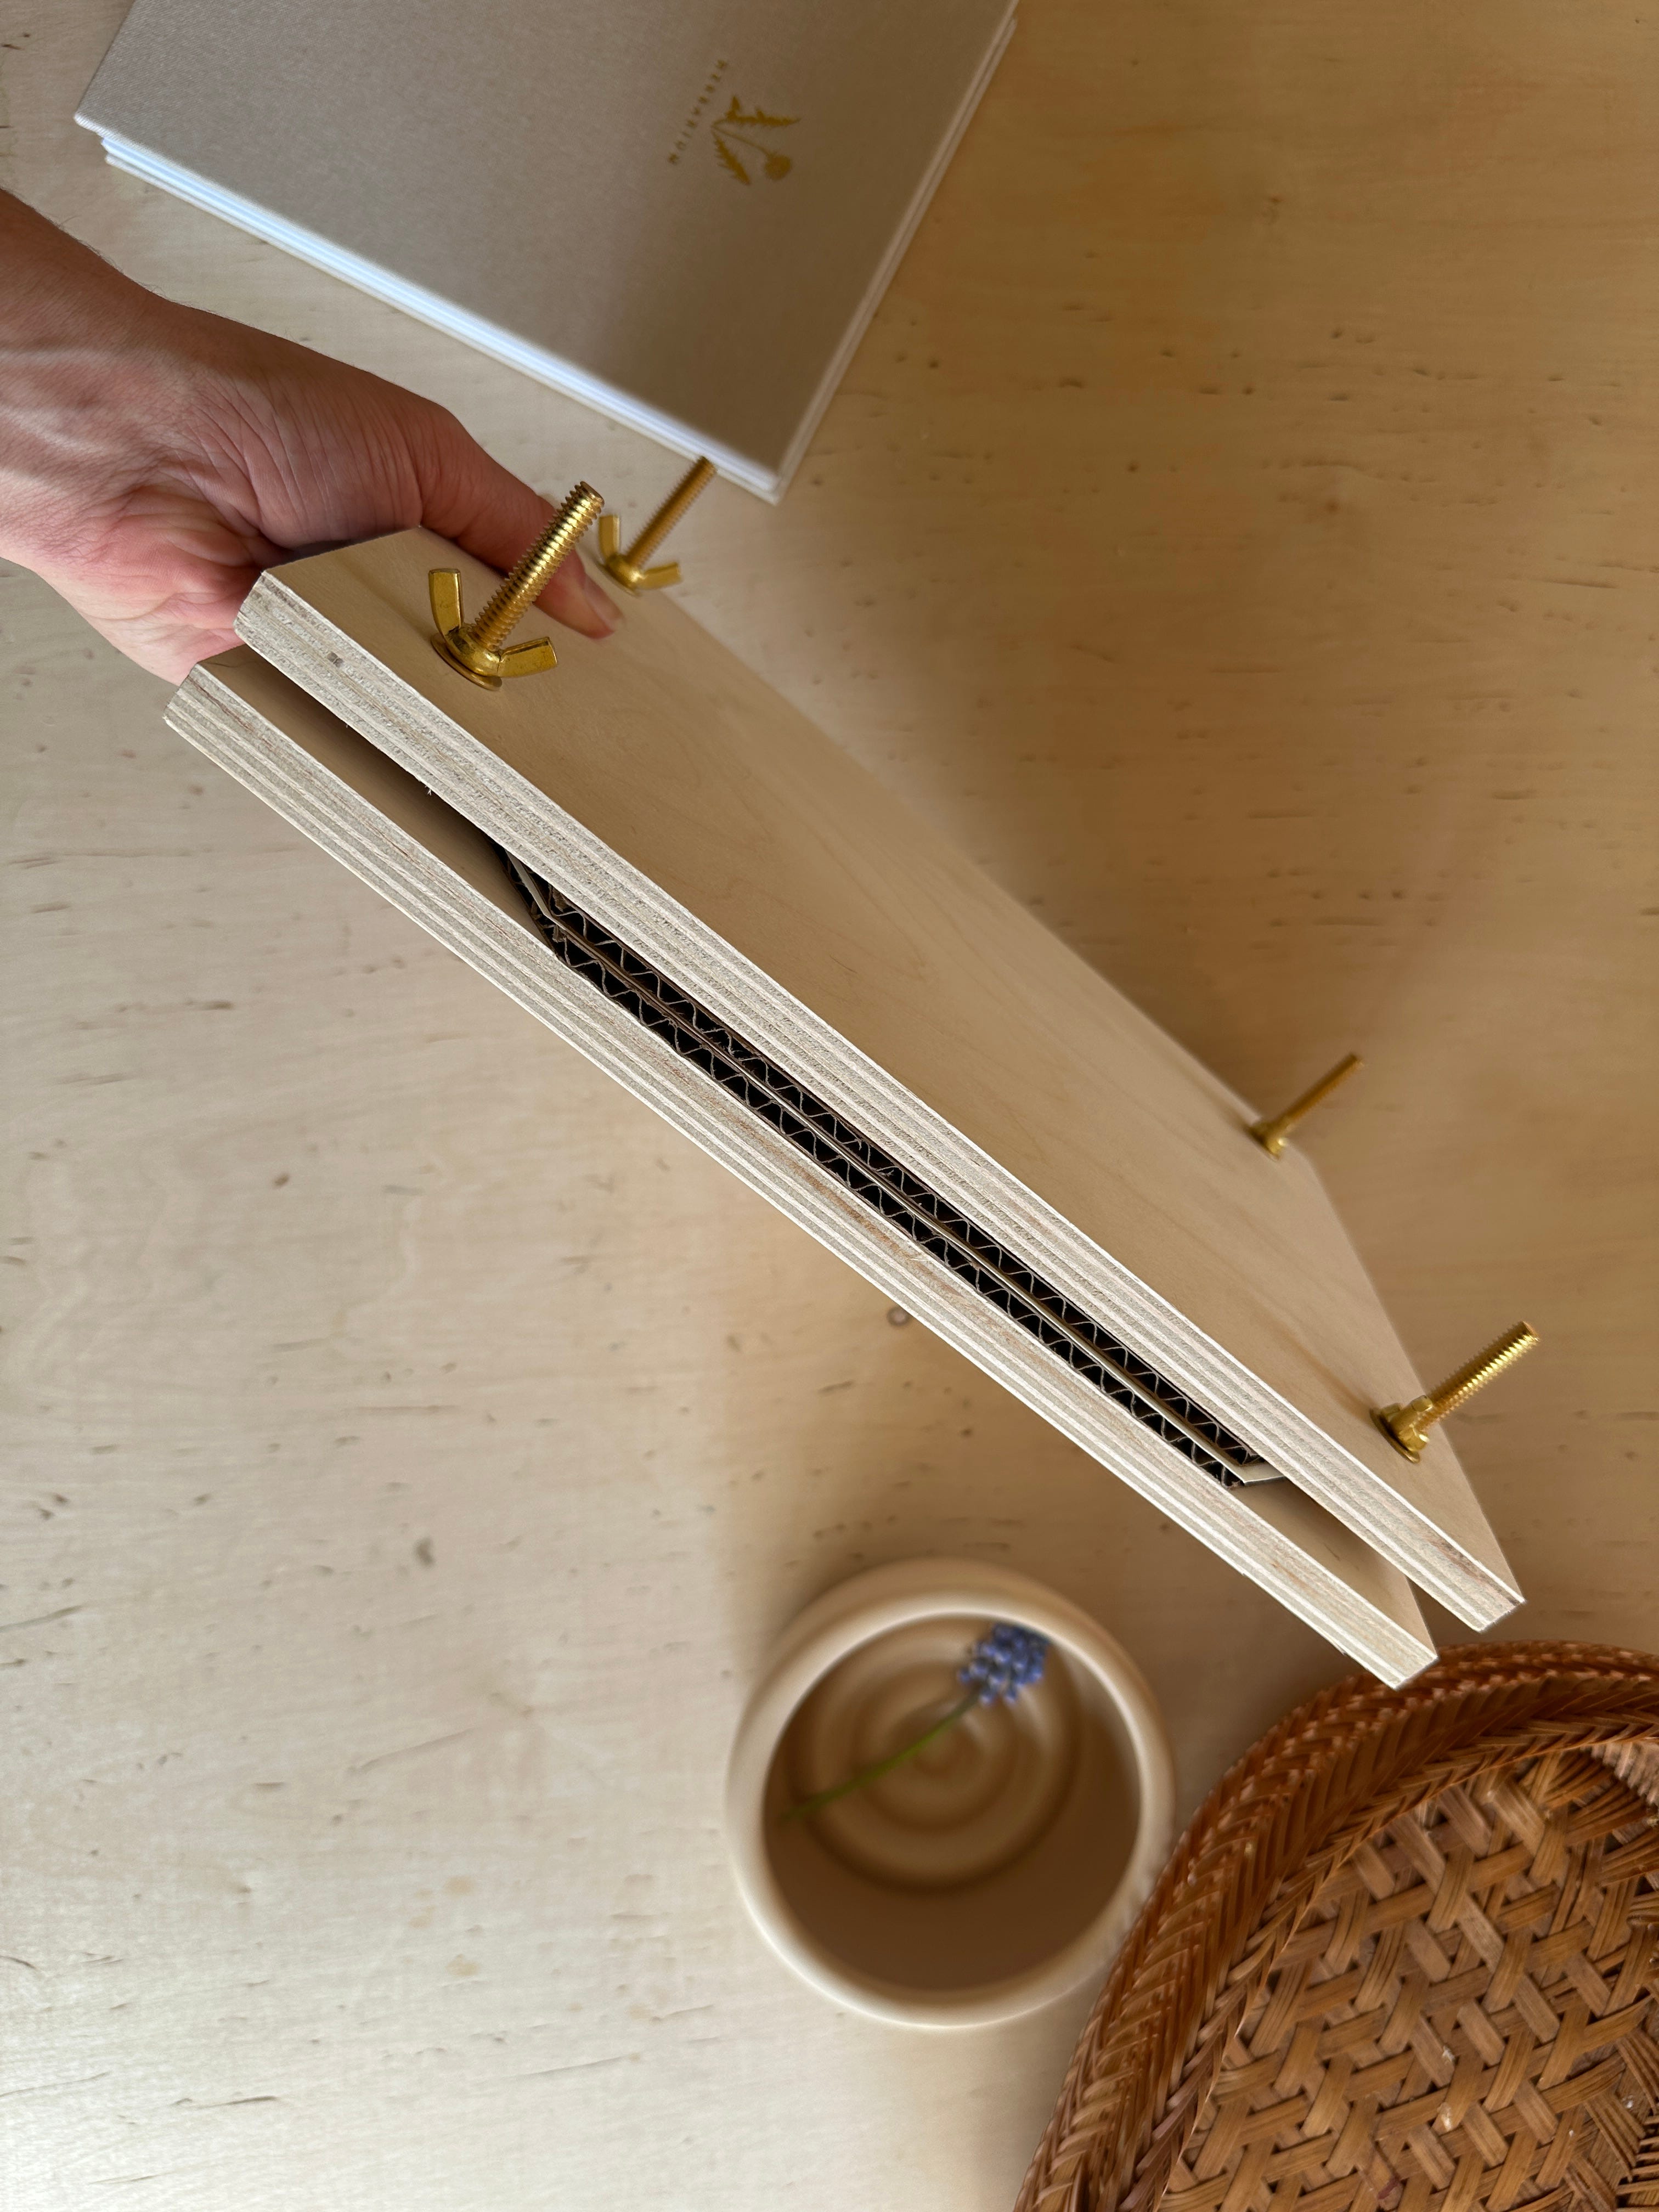
You can also buy a flower press online, but I found that making one myself was simple, and satisfying.


To make your own flower press, you’ll need:
Two pieces of wood cut to the same size (at least ½-inch thick for even pressing). If you don’t have power tools, you can buy pre-cut pieces—like these.
Four ¼” screws, washers, and wingnuts—I sourced copper ones online, but any from your local hardware store will work.
Printing paper and cardboard for layering.
A drill and a ¼” drill bit.
Steps:
Drill the holes – Stack both wood pieces together and mark 1 inch from each corner. Drill through both pieces with a ¼” drill bit so the holes align perfectly, then slide the bolts through.
Add layers – Start with a piece of cardboard, then a sheet of paper to absorb moisture, followed by your flowers. Top with another sheet of paper and cardboard, then repeat until the press is full. Finish with the second wood piece on top.


Secure it: Add the washers, and fasten them with the wingnuts, tightening enough to apply gentle pressure but not so tight that you risk breaking your flowers.
And that’s it! You don’t have to be a poet or a botanist to start this practice. It’s for anyone who wants to move through the world with more attention, curiosity, and a little more care. And once you start, you won’t look at plants the same way again.
Once you’ve pressed your flowers, what comes next? The rest of this letter is for paid subscribers, and includes:
How I organize my herbarium, from labeling to layout
The materials I use for mounting pressed flowers so they last for years
A seasonal list of flowers that press well, so you always have something to collect
Links to my favorite tools and materials, the ones I swear by